
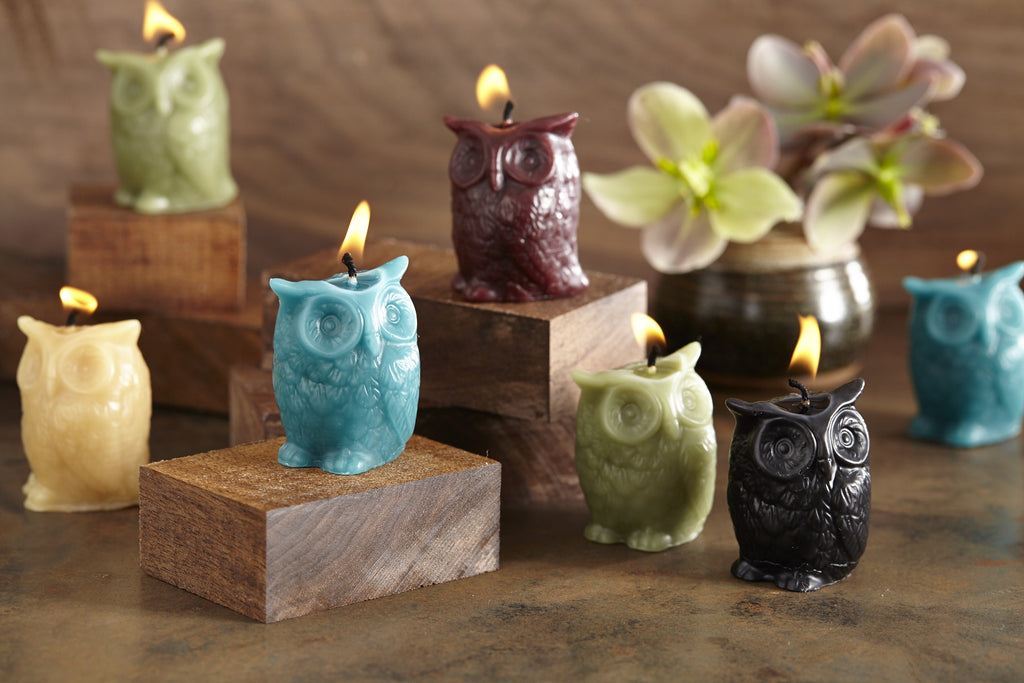
Tending the Flame: Why We Mind Our Beeswax

Not all beeswax is created equal- only 100% pure beeswax candles are non-toxic and air-purifying. In fact, many conventional “beeswax” candles are actually produced by melting down all parts of the honeycomb, rather than the super-fine wax seal on its top called capping wax, and may even contain fillers such as petroleum. Capping wax is what is most desirable when it comes to candle making as it’s the most pure.
Knowing this, it really makes sense that you get what you pay for when it comes to beeswax candles. Beeswax candles made exclusively from capping wax have the ability to pull out dust and toxins from the air.
Beeswax candles have a naturally long burn time without any synthetic additives. And while burning candles certainly isn’t rocket science, there is some science behind the flame, so we thought we’d give you some tricks of the trade to get even better and longer burns from your Greentree Home Candle.
The Essentials
-As always, safety safety safety
Just remember, folks, that we’re dealing with an open flame and hot wax- so burn wisely. Never leave your candles burning unattended, and please don’t try to adjust the wick or the wax while your candle is still hot!
-Burn your candle out of a draft
As they can cause uneven burns and dripping. Use a snuffer as well- it will help to prevent spills. Though pure beeswax is virtually dripless in the right environment, it’s pretty inevitable that spills happen. Just save any excess wax to be tossed back into the mix once you have a big pool- it’ll act as extra fuel.
-Burn on a level, heat-resistant surface
Aside from the obvious safety factor of this pointer, it will also help to ensure that your flame burns evenly and symmetrically.
Burning 101
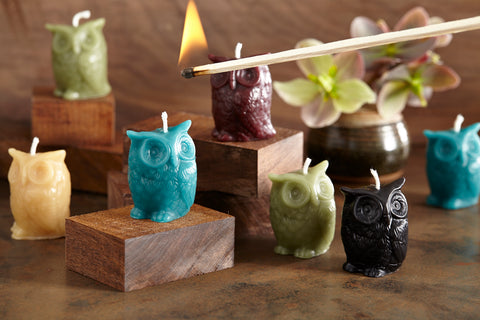
-It all starts with the wick
Make sure your wick is not too long-the larger the wick, the less efficient the candle will burn. We try our best to trim the wick to optimal length before leaving the shop, but some slip under the radar a bit longer than we’d like! With this we say use your best judgement on any necessary trimming- usually about ¼ of an inch. Once the right length, start by lighting at the wick’s base and wait until both the wick has ignited and a small pool of wax has begun to form.

-Watch the wax pool
Allow the candle to burn until the pool of melted wax has almost reached the outside of the candle, usually about 2-3 hours after it’s been lit. Blow it out once your candle has reached this point and allow the wax to firm up before re-lighting. This will help to prevent the occurrence of tunnelling.

-Hug your candle
Not literally. This is candle speak for pushing the soft wax inwards towards the wick. Hugging is just another way to get the most out of your wax, and is usually only necessary on larger candles such as our pillars or jumbo cones. It’s best to do this once you’ve allowed the wax to harden, just before re-lighting it. Just be sure to push the wax inward slowly, as you don’t want to suffocate your wick
-Retrim, relight, and enjoy!
Words: Caroline Noonan Images: Rachel Watson
Continue reading